Employee Portal - Dashboard
The Employee dashboard gives an employee access to information and resources applicable to their employment.
Here an employee can view recent notifications, browse their payslips, view their employment calendar, make a request for leave, and view or update personal details.
Accessing Your Documents
1) Click 'Browse All Documents' to access all documents that have been uploaded to Thesaurus Connect for you. Alternatively, click 'Documents' on the top menu bar.
2) Select the document you wish to view. This will now be previewed on screen.
3) Click the 'download' button at the top right to save the document to PDF.
Updating Your Personal Details
1) Should you wish to view or update your personal details, within 'Employee Details', simply click 'Update my details'. Alternatively, click 'My Details' on the top menu bar.
This page shows the personal details that your employer currently holds for you, and allows you to request any updates.
2) To add or change details, click the 'Change' button next to each applicable field and enter or update the details as required. Click 'Submit Request', when completed.
Your employer will receive a notification with the details of your request for approval.
Please note: Some important details that your employer must report to Revenue such as date of birth and PPS number cannot be changed here. For security, sensitive details (e.g. payment bank account information) are not displayed here either. Please contact your employer directly if any of these details needs to be updated.
Your Calendar
The current month will be displayed on your dashboard, showing any leave that you have taken/due to take during this month.
1) To access your full calendar, click 'Full Calendar'. Alternatively, click 'Calendar' on the top menu bar.
This will provide an overview of your calendar events as follows:

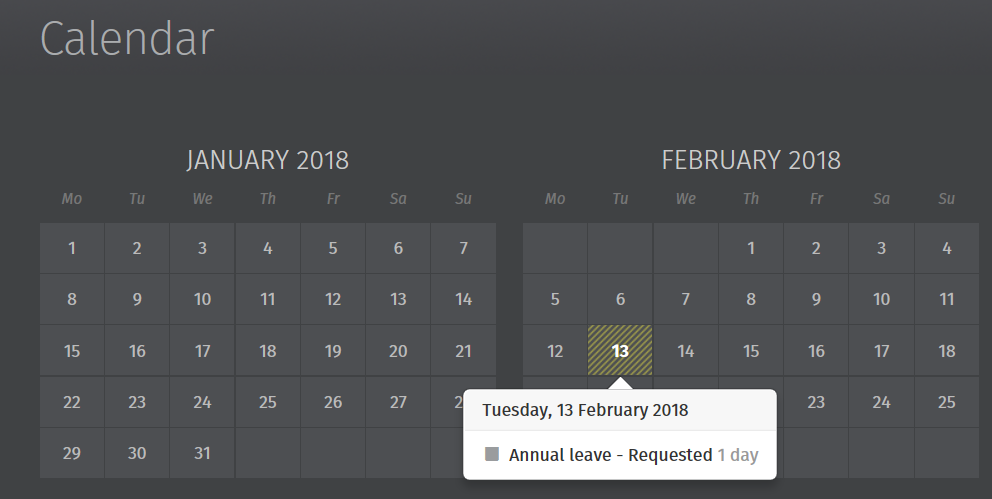
2) Use the navigation buttons at the top right of the calendar to move forwards and backwards in the year. Hover your mouse over a day on the calendar to see details.
3) To request leave, select 'Request Leave', either on your dashboard or when accessing the full calendar.
4) Select the Date, Type of Leave, and whether the leave is for a full day or half day. Enter any additional information regarding the leave, if required.
5) Click 'Submit Request' or click 'Add' to add further leave.
Your requested days will now be marked on your calendar, and your employer will receive a notification with the details of your request for approval.
If your leave request is approved by your employer, you will receive email notification confirming this. Your calendar will be updated accordingly to show the approval.
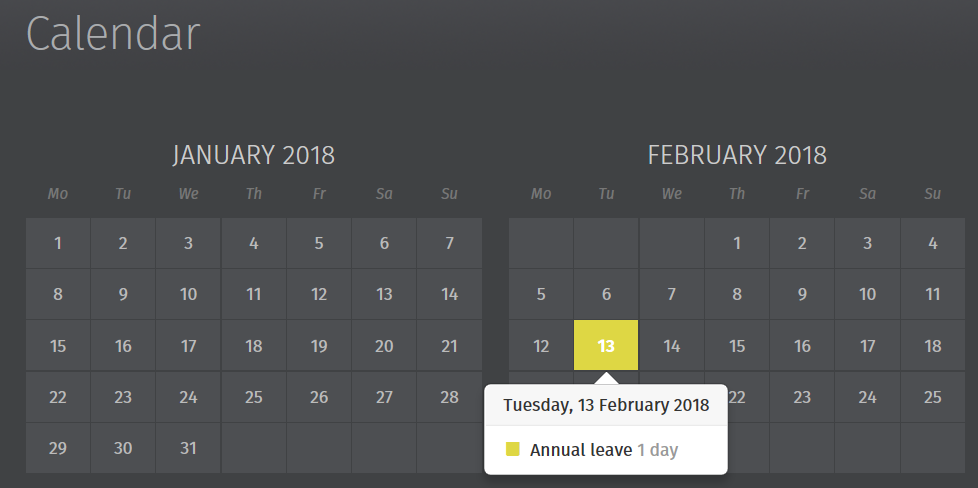
Should your leave be rejected, you will receive email notification confirming this. You should contact your employer directly if you need further details.
Need help? Support is available at 01 8352074 or thesauruspayrollsupport@brightsg.com.